Introduction
Ever noticed those pesky dark lines between your tiles that seem to get worse no matter how much you clean them? That’s grout discoloration, and it’s a common issue many of us face in our homes and commercial spaces. Don’t worry; you’re not alone! Today, we’re going to break down why grout gets discolored and how you can fix it yourself—or with a little help from the pros at Tucson Tile and Grout.What is Grout and Why Does It Get Discolored?
Grout is the material used to fill the gaps between your tiles. It’s made up of cement, water, and sometimes sand, making it a porous substance. This porosity is what makes grout prone to discoloration. Over time, dirt, oils, mold, and mildew can seep into the grout, causing it to change color.Identifying Different Types of Grout Discoloration
Before you start cleaning, it’s important to identify the type of discoloration affecting your grout. Here are some common types:- Dirt and Dust: Usually appears as a gray or black film, especially in high-traffic areas.
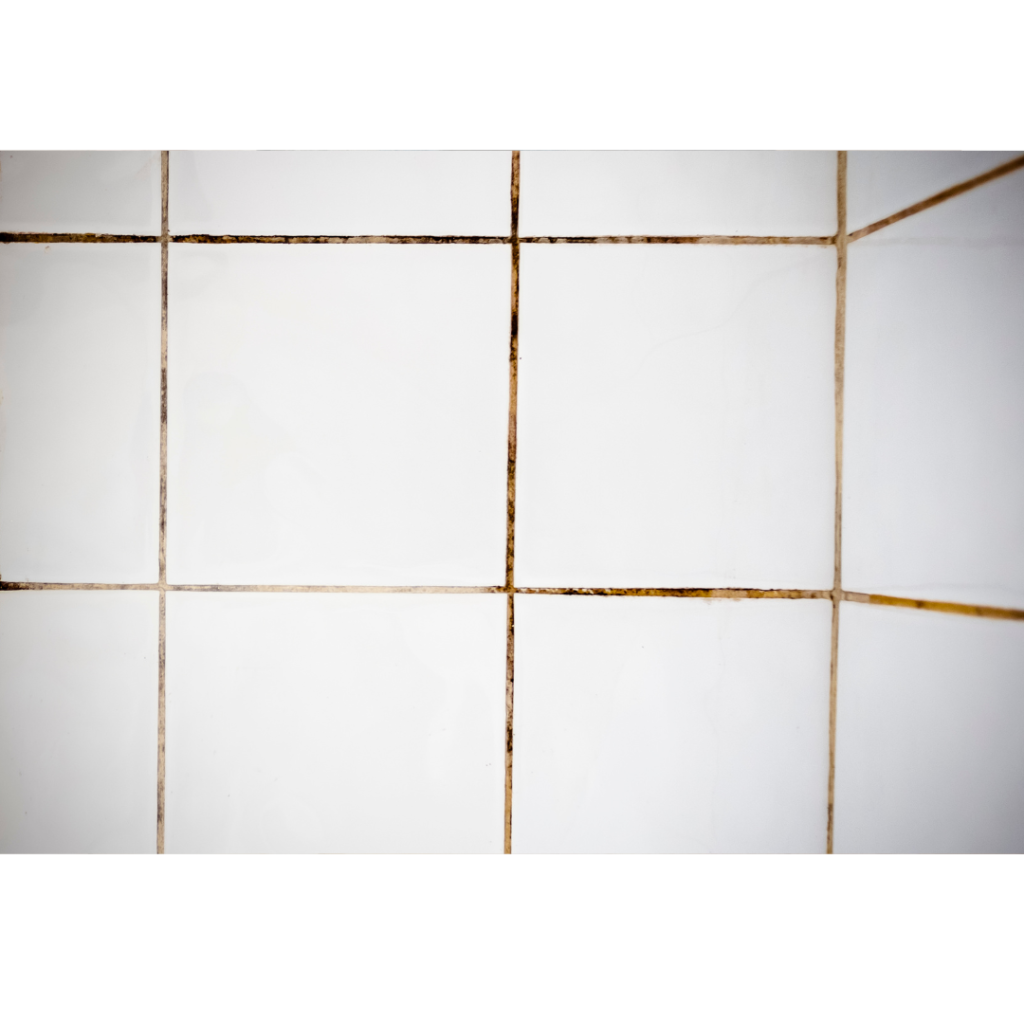
- Mold and Mildew: Often shows up as dark green or black spots, commonly found in damp areas like bathrooms.
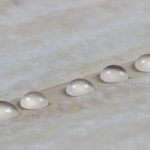
- Efflorescence: Appears as a white powdery substance on the grout’s surface, caused by water evaporation drawing minerals to the surface.
- Before and After Cleaning – Show a clean vs. dirty grout line.
- Different Types of Discoloration – Provide images of the various types mentioned above.
Step-by-Step Instructions for Cleaning and Re-coloring Grout
1. Initial Cleaning
Begin by sweeping or vacuuming the area to remove loose dirt and debris. Follow up with a damp mop to remove any remaining dust.2. Apply Grout Cleaner
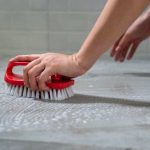
Use a commercial grout cleaner or make a paste with baking soda and hydrogen peroxide. Apply it generously to the grout lines.3. Scrub the Grout
Scrub the grout lines using a soft-bristle brush or toothbrush. Focus on areas with heavy discoloration. Allow the cleaner to sit for a few minutes before scrubbing again.4. Rinse and Dry
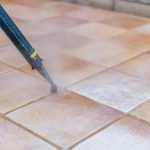
Rinse the area with clean water and wipe it down with microfiber cloths to remove any cleaner residue. Let the grout dry completely before moving on to the next step.5. Re-color the Grout (If Needed)
If the discoloration is severe or if you want to change the grout color, apply grout paint or colorant. Use a sponge to apply the colorant evenly along the grout lines. Painter’s tape can help you avoid getting colorant on the tiles.6. Seal the Grout
After the grout has dried completely, apply a grout sealer to protect it from future stains and discoloration. Follow the manufacturer’s instructions for the best results.When to Call the Pros
While DIY methods are great for minor discoloration, some cases require a professional touch. This is where Tucson Tile and Grout come into play. Our tile restoration services are designed to handle even the most stubborn grout discoloration, bringing your tiles back to life.Benefits of Professional Tile Cleaning
- Deep Cleaning: Professionals use advanced tools and products for a thorough clean.
- Time-Saving: Save yourself the effort and time of scrubbing.
- Long-Lasting Results: Professional cleaning provides results that last longer.